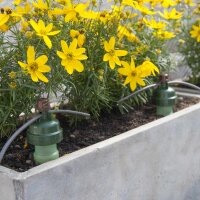
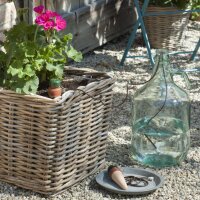
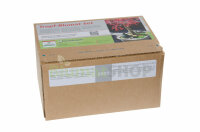
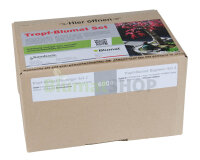
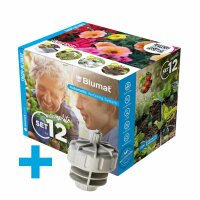
Starter set for watering a small group of planter tubs, various pots or troughs on patios as well as small planting beds or also for watering in greenhouses or solariums.
Water supplied from a water faucet (connected to house water supply).
Water supplied from a water faucet (connected to house water supply).
Information on product safety
Manufacturer information:
Name: Blumat GmbH & Co. KG
Street name: Hag 7
Postal code, City: 6410 , Telfs
Country: Österreich
State: Tirol
Homepage: https://www.blumat.com
Street name: Hag 7
Postal code, City: 6410 , Telfs
Country: Österreich
State: Tirol
Homepage: https://www.blumat.com
Product safety information
Manufacturer information:
Blumat GmbH & Co. KG
Hag 7
Tirol
Telfs, Österreich, 6410
https://www.blumat.com
Hag 7
Tirol
Telfs, Österreich, 6410
https://www.blumat.com
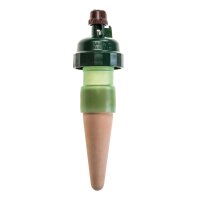
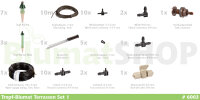
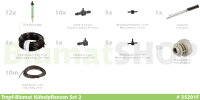
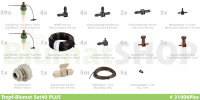
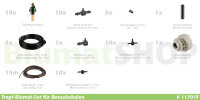
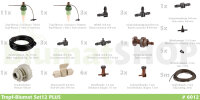
- Quantity Tropf-Blumat: 7 Tropf-Blumat
- Quantity Tropf-Blumat Maxi: 3 Tropf-Blumat Maxi
- Product type: Irrigation set
- Water connection: Faucet
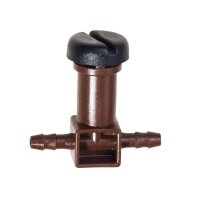
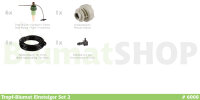
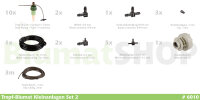
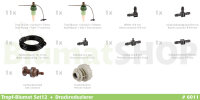
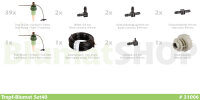
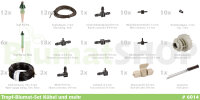
- 7 Tropf-Blumat without drip tubing + T-connector
- 3 Tropf-Blumat Maxi without drip tubing + T-connector (TB-Maxi)
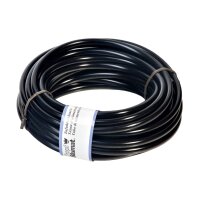
- 10 m water supply tubing, black, 8mm
- 10 m drip tubing, 3mm
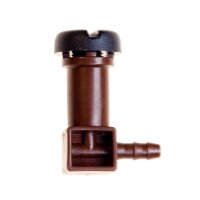
- 2 angle pieces, 8-8 mm
- 2 end pieces, 8-3 mm
- 1 tubing branch connector, 8-8-8 mm
- 10 Mini-branch connectors, 3-3-3 mm
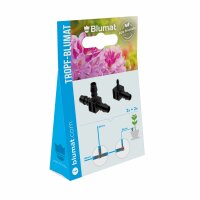
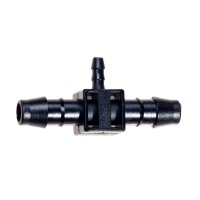
- 10 T-connectors, 8-3-8 mm
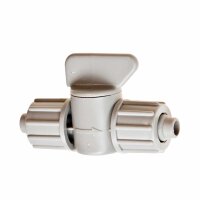
- 1 shut-off valve, 8-8 mm, removable
- 5 end caps, 3 mm
- 1 elevated tank connection, 8 mm (12 mm drilled hole)
- 1 pressure reducer
(setting fix 1 bar, connections 8 mm clamp screws, ¾ inch inner threading) - 1 corer
Set is suitable for (alternative examples)
- 1.6 m of planter boxes(2 x 80 cm box length) + 1 small pot +
3 planting tubs 30-(40) cm each with 1 TB-Maxi - 3 planting tubs 40-(50) cm each with 1 TB-Maxi + 1 Tropf-Blumat +
1 trough 50x50 cm with 4 Tropf-Blumat (for small plants) - 0.7 m² planting bed (ca. 14 midsize plants) +
3 midsize solitary plants in a bed each with 1 TB-Maxi - 7 single pots of up to ca. 20 cm each
Deciding how many Tropf-Blumats are necessary
For watering planter boxes, use the rule of thumb: 4 drip locations (Tropf-Blumats) per 100 cm box length (box width- 20 cm), 3 drippers for 80 cm. For wider troughs (such as 100x40 cm), usually 6-7 Tropf-Blumats are enough, depending on the size of the plants – also see bed plantings.For watering in pots, every plant / every pot should have 1 Tropf-Blumat. According to the pot size, 1 Tropf-Blumat is enough for pots up to ca. 20 cm in diameter, for pots up to 40 cm use 2 Tropf-Blumats, up to 50 cm 3 Tropf-Blumats.
The size of the plant is also an important factor and sometimes the needs of a particular plant species plays a role when deciding on the number of Tropf-Blumats needed. Large Containers such as planting tubs, for example, should often have fewer drippers in order to avoid overwatering.
For bed plantings, 2 plants (the size of typical summer flowers such as geraniums) require 1 Tropf-Blumat (plant spacing ca. 20-22 cm), when planted closer together (ca. 15 cm), 1 Tropf-Blumat is enough for a group of 3 plants.
Unique features of this Set
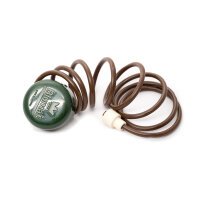
The Tropf-Blumats come without the drip tubing and T-connector. This allows for the tubing to be cut to length according to individual purposes; it is then subsequently inserted through the watering head (open the adjusting screw completely) and the fixated with an overhang of about 8 cm. Together with the mini-branch connectors, it is possible to reduce the amount of drip tubing used. One drip tubing connection from the water supply tubing is enough for a max. of 5 Tropf-Blumats with corresponding branching and mini-branch connectors.The number of fittings is designed with some reserve in mind. The corer is a tool for making a hole in the substrate before inserting the TB-Maxi.
Connection to tap water
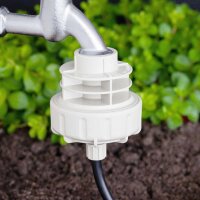
The required pressure reducer fits a standard water faucet with ¾ inch outer threading. The water faucet must be kept constantly open for operation of the system. If the tap is to be used for a garden hose in addition, then it is practical to use an optional 2-Way-Branch Connector, this allows for the watering functions (hose or Tropf-Blumat) to each be used separately.The pressure reducer sets the pressure at 1 (0.8) bar, the pressure from the water source should not exceed 6 bar. It is also possible to connect to a house tap with less upstream pressure.
It is important, that the pressure reducer be stored over winter protected from frost, or for the purpose of winter operation, that the water connection is located in a frost-free cellar.
Tubing Installation
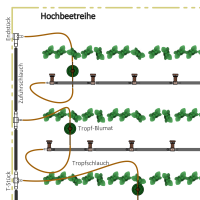
The 8 mm-water supply tubing can be placed alongside the bottom of the containers to be watered or also somewhat further away, for example, in order to hide the tubing under an edge (depending upon the length of the tubing). In this case, the dripper tubing extends upwards to the pots or tubs. For each desired Tropf-Blumat location, the tubing is cut and a t-connector is inserted into the two ends of the tubing (for the last Tropf-Blumat at the end of the tubing, use an end piece instead of a t-connector).The installation can be laid out as desired, the tubing can be branched, and there can be some variation in elevation within the layout, for example, from the point of the faucet upwards max. 4-(6) m and downwards ca. 2-(3) m.
As a general rule, drip tubing should not exceed 150 cm in length, an occasional control and flushing of the tubing is suggested.
The water supply tubing can be mounted using support pins, which are an accessory to the system, but it can also be mounted using any wire fasteners or nail clamps.
System
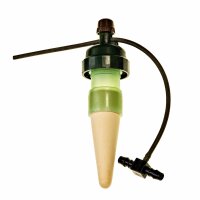
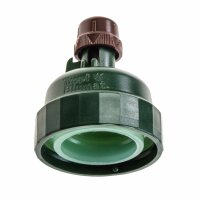
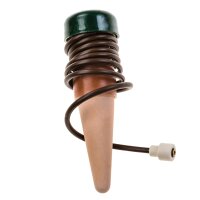
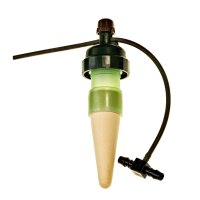
"Tropf-Blumat" (Tropf = Drip) works using pressure as its basis, it requires a minimum pressure for the correct functioning of the watering head and to avoid cloggage.The Tropf-Blumat is the heart piece of the entire system and acts as a moisture sensor and dripper at the same time. Every dripper location is therefore sensor controlled according to the tensiometer principle. Also included in the system are fittings to connect the tubing.
Procedure
Fill the Tropf-Blumat with water (part of the sensor function only!) – see Directions for Use – and insert into moist soil. As the soil becomes drier, water is sucked out of the feeler which is a porous clay cone. This creates a sub pressure (partial vacuum). As the pressure develops, a membrane in the watering head is released (before then it is squeezed together), opening the thin dripper tubing; the tubing begins slowly to drip. The water seeps through the soil once again to the clay cone, causing a lessening of the sub pressure, the valve closes; the dripping slowly stops.Adjusting
The Tropf-Blumat is adjusted using the brown knob; it should be set so that when the soil is optimally wet, the dripper has just stopped dripping. When first using, the sensor requires a certain settling period. Therefore, adjusting should be carried out only after a day of use. The general recommended adjustments are described in the Directions for Use or in our Recommended Settings. It is important that the adjustment is correct from the beginning!Maintenance
The water being used must be clean (there is no filter in the system), it can contain completely water soluable fertilizer. It is recommended to treat water that is extremely hard (over ca. 30°dH) by softening or to use rainwater, if possible. Light lime deposits in the tubing can be removed by rubbing.The water inside the sensor should be occasionally checked. However, in general, the water will not need to be topped off during the watering period. Under certain conditions, winter operation is also possible.

